The WebP image file type is a way for you to set higher quality images onto your website. WebP images look better at smaller file sizes than other image file types. This means that your images will look better and load faster when you convert them to WebP. WebP was actually invented by Google over a decade ago. But it took quite a while for it to catch on because it needed time for browsers to become WebP compatible.
How Important is it to Convert Your Images to WebP?
If you have already been doing a good job of setting web friendly images, and your site contains a lot of images, then I wouldn’t go through every image and convert each one to WebP. However, you should consider converting all of your new images to WebP. However, if your site is running slow, and you have already done a good job of caching your site, then you may find that reducing the dimensions of your images and converting them to WebP may improve your loading times.
WebP and WordPress Compatibility
This tutorial will reference WordPress, however it will show you how to convert your images to WebP without using WordPress tools.
WebP has been compatible with WordPress since version 5.8. So if you don’t have WordPress 5.8 or higher then you will need to update if you want to use WebP images.
In addition to WordPress version compatibility, you should also consider WordPress theme compatibility. Some themes do a better job of managing image sizes than others. You want to pick a theme like one of the latest Big Themes that sets clear limits on how big an image can be. That way you can set your image to a maximum size that you know won’t get so large that it becomes distorted.
Update Your Images to WebP with GIMP
GIMP is free software that you can use to amplify compression and convert file types.
GIMP is a full service image editor that has capabilities that extend well beyond what you will probably need for WordPress. But if you are just using GIMP to compress your images, then it isn’t that difficult to use. Just follow these instructions:
- Download GIMP if you haven’t already.
- In Gimp, go to File > Open, then choose the file you want to open.
- Go to Image > Scale Image. A good rule of thumb is if you are using one of the Big Themes, then set the width of your images to one of the following sizes:
- 900 for images half the body or smaller.
- 1200 if you are using a standard page width and you have an image that traverses the entire body width.
- 1800 for full body width when using Big Pages.
- 2560 if you are using a background image, a header image, or a featured image.
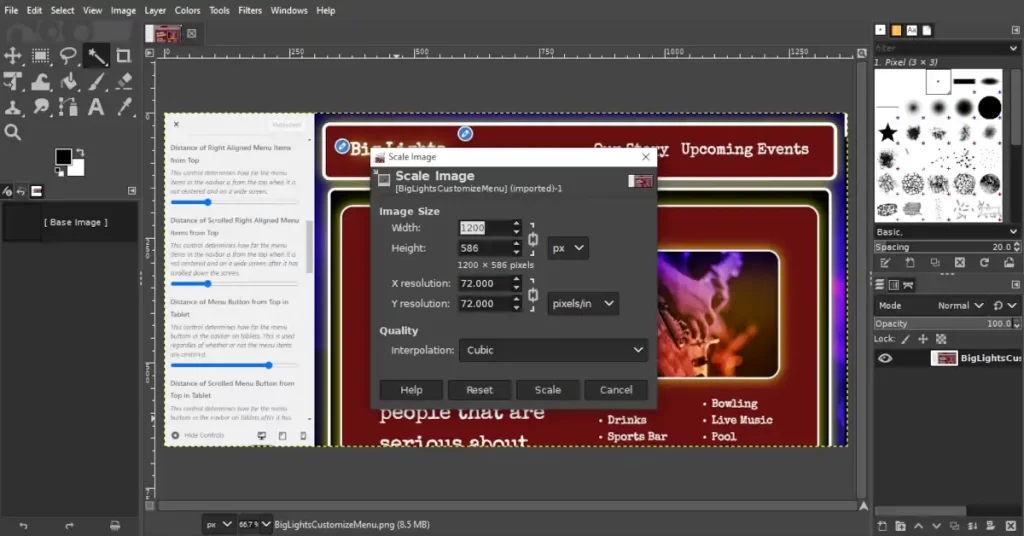
- Once you have set your image width, go to File > Export As.
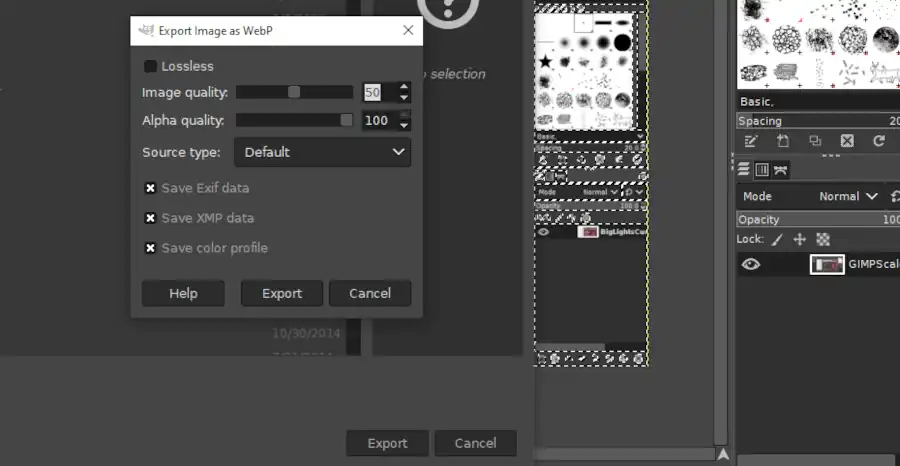
- Replace the current image file extension (probably .jpg or .png) with .webp. You may also want to rename the file so that it includes a reference to the width.
- Click export, then lower the image quality to 50 percent. You can experiment with even lower image quality if you think the image’s appearance won’t suffer too much.
- Click Export.
That’s it. If you have any questions, then feel free to post them to the comments section.