Cloudflare Fonts: How to Localize the Google Fonts CDN

Cloudflare fonts allows you to localize your fonts from the Google Fonts CDN. I wrote about the distinction in performance between Cloudflare’s CDN and Google’s CDN in a previous post. I also wrote a post that explained how to localize your fonts using a WordPress plugin. However, this method isn’t the most expedient method. But now there is an automated way to get Cloudflare to host fonts if the Google CDN is hosting your fonts.

Cloudflare Fonts and the Big Themes

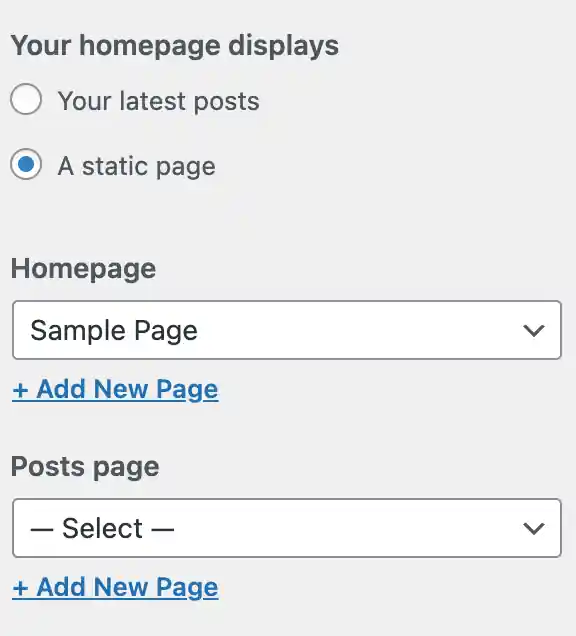
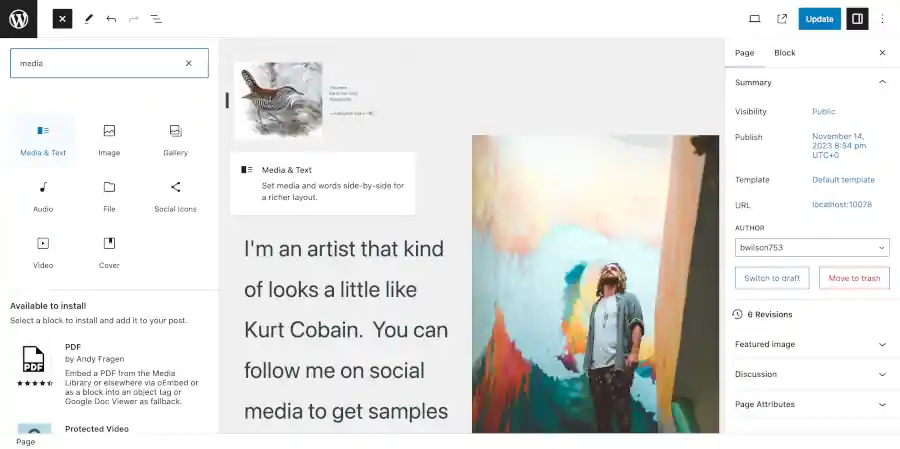
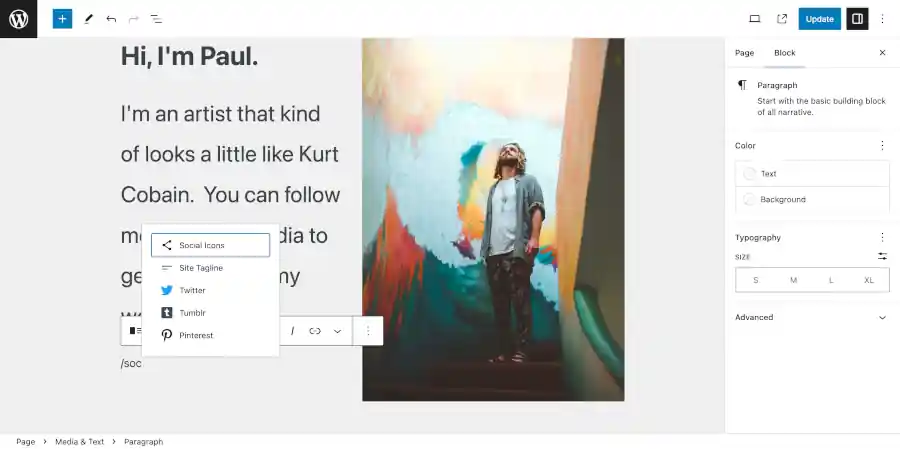
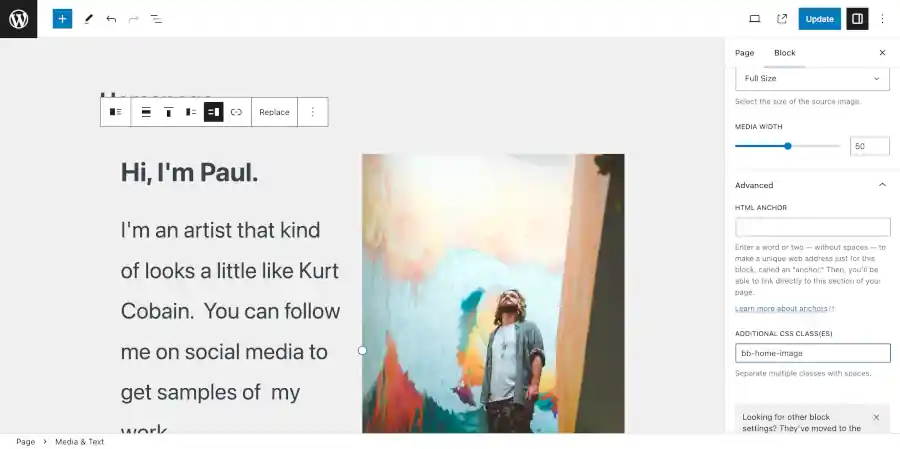
If you use a WordPress theme like one of the Big Themes, then you can quickly add and drop new fonts. The Big Themes make it easy for you to add and drop fonts in the customizer. They rely on the Google Fonts CDN to do this. If you already have Cloudflare set up, then all you have to do is follow Cloudlflare’s instructions to set up Cloudflare fonts. It requires a simple one click operation. The result is the fastest possible page load time with enhanced visitor privacy. And if you want to update your fonts in the future, then you can change them quickly with the Big Themes customizer.

Efficacy

The bottom line is it works. The process can be verified using browser development tools. You can see the HTML lines calling Google Fonts have been removed. The process can also be verified using Google Page Speed Insights. Speed Insights does not list any calls to Google Fonts as a render blocking resource when Cloudflare fonts is turned on. The effect seems to be the same as the original page speed analysis from my previous post.

Is It Safe to Use Cloudflare Fonts?

Although Cloudflare Fonts is technically in its Beta stage (as of the original publication of this post), it seems to work quite well. Using it will save a lot of time and effort. And it will make updating your fonts a much easier process.

If you have already manually set up a local font host, there is no reason to update. The performance of both methods does not seem to show any distinction. However, if you want to to update your fonts, like with the Big Themes, then you no longer need to consider a manual localization set up process.

Questions?

Do you have questions about how to localize the Google Fonts CDN with Cloudflare? Feel free to leave them in the comment area below.

Linktree to a Website: Switching from Linktree to Your First Website

screenshot

Going from Linktree to a website may seem daunting. If you’re a freelancer, small business owner, entrepreneur, or solopreneur, then you may have built a solid social media presence, and you may still be using linktree as your pseudo-homepage. But if you want to take your business to the next level, then it may be time to start your own website.

Linktree to a Website: Why Bother?

When you own your own website, you have full control over what content you want distributed, and how you want people to see it. You can use social media. But you’re limited to the audience on your platform, and your competition is right up next to you. When you have your own website, your audience is the entire internet. And once people are on your website, they are looking at you, not your competitors.

Linktree to a Website: Take Your Time

Bookmark this page. You don’t have to build your website in a single sitting.

Linktree to a Website: Pick a Web Host

One of the simplest and cheapest ways to set up a website is to set up WordPress on a shared server through a web host that uses CPanel and Softaculous, then follow these instructions. Hostgator is one service provider that uses these services, but there are also others.

Linktree to a Website: Install the Big Chill Theme

Once you have WordPress set up, you can download the Big Chill theme directly through the admin center. Don’t worry about the default colors or the default fonts or even the default layout. You can change all of that. From your WordPress admin center just go to go to Appearance > Themes > “Add New”, then type “Big Chill” into the search bar, then select install, then select activate.

Set Up the Customizer Part 1

Before you add your content, you want to set up the basic layout of the Customizer. From the admin page left sidebar go to Appearance > Customize.

In Part 1 of setting up the customizer, we’re going to just get the layout correct. The first thing that you want to do is go to Homepage Settings. Then select “A static page”, then under the Homepage dropdown select “Sample Page”

Linktree to a Website screenshot
Result of Update

Then you’re going to want to go to back out of that section and into the “Homepage Header Image” section. Scroll to the bottom and under “Current header” click “Hide Image”. The sample content should move up the screen.

screenshot
Result of Update

Next, you won’t need the navbar. So go into the Additional CSS section of the customizer and add the following code:

#site-navigation {
	display: none;
}

Finally, go to the Layout section and move the first three “Space from Top” options all the way to the left.

Linktree to a Website screenshot

You should have a result similar to the following:

screenshot

Now you can push publish and close out of the customizer for now.

Linktree to a Website: Get Your Content Ready

Hopefully, you have at least one image that you can use for your site. Any image will do. If the site is for yourself, then a picture of yourself is fine. Before you add the picture to the block editor, you’ll want to make your image website friendly. You should reset the width of your image down to 600px.

Linktree to a Website: Set Up Blocks

Next, you’ll want to add your content in the block editor. From the main admin page, go to Pages > “All Pages”, then select “Sample Page”. Change the title from “Sample Page” to “Homepage”. Then delete all of the text in the body of the page.

Next, you should add a media & text block. The picture below shows you how to add it.

Linktree to a Website screenshot

You can add text by adding text to a block in the text section. You can add a block by clicking in the section. If you want your text to be a heading, then type “/he” in the block and select the heading option. You can use the same technique used to add social icons referenced in the picture below.

Type in something about yourself. Then add that image that you made website friendly referenced in the previous section of the this blog post.

Add Your Social Icons

Next, you should open a new block and type “/soc”. You can select to add a social icons block. See the picture below:

screenshot

Add the social icons block. Then select the entire social icons block (as opposed to an individual icon). You can click the icon to the left on the block bar above the block to select the outer block. Using the block bar that hovers above the block, you can change the size. I recommend the huge setting. And using the block tab on the right side of the screen, you can change the style to “Logos Only”. Then change the color to white. You can also change the size of the text above the social icon by clicking on the each respective text block and adjusting the size using the block tab on the right side of the screen.

If WordPress does not have all of your social media icons, then you can add a row of custom buttons in a new block below your social media block. You can get this started by using the technique featured in the picture above, but substitute the reference “/but”.

Add a Custom Class

Finally, you want to add a custom class that we’ll use later. Select the media and text block (not the contents inside). Then go to the block tab on the right side of the screen. Then go to advanced and add “bb-home-image” under the Additional CSS classes section. See the screenshot below:

Linktree to a Website screenshot

Make sure that you save your work before you leave.

Delete Unused Pages

Since this is a one page site, you’re going to want to go back out to the main admin page and delete the “hello world” blog post. You can do this by going to posts, then find the “hello world” post and click “trash” underneath it.

Linktree to a Website screenshot

Set Up the Customizer Part 2

Now that you have all of your content in place, you want to refine how your site looks even further. Go to Appearance > Customize.

Now is the time to change the way your colors look. You might think that it looks pretty dark. Go into the customizer section marked colors. Then update the colors to “212529” for “Navbar and Footer Foreground Color”, “Body and Sidebar Foreground Color”, and “Background Color”.

Linktree to a Website screenshot

You may also want to turn off the “Shadow Halo and Link Color Backlight”. And you may want to switch “Body Link Color” and “Body Link Hover Color” to white.

Custom CSS

Next you may want to remove the back to top button since your page is so small. Just go to the Additonal CSS section and copy and paste the following:

#bb-back-to-top {
	display: none !important;
}

Next we’re going to use the home image class we added. Add the following to Additional CSS:

.bb-home-image img {
	box-shadow: 10px 10px;
}

The result should look similar to the following:

Linktree to a Website screenshot

Now, you have a great foundation for your website. You’re ready to publish it and share it on social media. As you obtain more content that you wish to share, you can use the instructions below to add more stuff.

Advanced Options

How to Make a Full Screen Image Mobile Compatible

A full screen image is a great way to make a landing page look great. And there have never been more options to set one up. Unfortunately, full screen images are tricky. And there are a lot of ways that you can add one that causes your web page to screw up.

The Dilemma of Full Screen Images

Full screen images have to satisfy very large screens and very small screens. Further, mobile devices interpret how images are printed to the screen different than laptops and desktops. Mobile devices interpret code differently. This causes changes in performance. Mobile devices tend to load pages slower than laptops and desktops. This slow load can be made even slower depending on how you set your images.

A full screen image
An example of a full screen image

Full Screen Image File Size

Like any image, you need to set your full screen image file size properly. You should convert your image to webp, then use trial and error to reduce your image’s file size to as small as possible without distorting the image’s quality.

Full Screen Image Dimensions

You’ll want your full screen image dimensions to be large enough to support large desktop screens. If you set the width to 2560 px that ought to be a large enough width. You will also want a second smaller file size of 600 px width for mobile devices.

Mobile Compatibility with Static HTML or Bootstrap

Mobile compatibility with custom static HTML written pages require more responsibility than a CMS driven website like WordPress. However, they also offer more flexibility than a CMS driven website. Static HTML pages also don’t require the use of PHP which puts less stress on your server and allows faster output.

Although CMS sites deal with a lot of redundant page load problems using automation, CMS sites will almost always overlook certain conditions that can be more easily handled using a static HTML driven webpage.

Using Fixed Images on Mobile Devices

Fixed images are images that stay in the same place when the screen moves. These kinds of images have special considerations on mobile devices. You should not make the assumption that setting an image to fixed using CSS will have the same result on both desktops and mobile devices. In fact, it is nearly certain that there will be a difference.

What makes matters even worse is that different mobile devices will produce different results. On IOS the image will be switched from fixed to static then stretched to fit the screen, and on Android the image will be fixed, but it will make a choppy adjustment to the screen size as the address bar is added and removed.

One solution is to avoid using fixed images, then set multiple image sizes for multiple screen sizes. However, if you want to use fixed images on mobile, I’ll show you the best methods later in this article.

Running a Full Screen Image on Android

Although Android tends to be more flexible than IOS, it tends to load webpages slower if you push it too hard. Nevertheless, Android is the most used smartphone operating system. The consequence is that whenever you have a smartphone sized screen, it behooves you to assume that it is being run on an Android operating system and you should minimize or avoid using fixed images.

Full Screen Image Sizing for Tablets

IPads tend to load fast, but you have to keep in mind that they run on an IOS operating system which has special considerations when delivering images. Having said that, IPads tend to outperform Androids if you know how to load the image properly. The main thing that you have to consider is fixed images. Fortunately you can use the Big Themes to solve that problem for you. I’ll cover that solution later in this article.

Managing Full Screen Image Sizes with Bootstrap

Bootstrap is a mobile first design, so it behooves you to use your smallest images as your default images. That means when you are writing your CSS, you should load the mobile size image first, then tell the browser that if the screen is sufficiently large, then it should load a larger image. For example, you could use something like:

header.masthead {
  background: url("../img/SmallImage.webp");
}
@media (min-width: 600px ) {
  header.masthead {
    background: url("../img/LargeImage.webp");
  }
}

This above code is a good primer for a full screen image that moves with scrolling.

Using WordPress and the Big Themes to Manage Fixed Images

The Big Themes all come with built in scripts that will adjust your images so that they are compatible with your mobile devices. There’s a lot that goes into trying to write a browser side script that is platform independent. So you can save yourself a lot of time and effort if you run a WordPress theme that does this for you. The Big Themes can help you with this.

How Many Image Sizes Do You Need?

You can always make an argument to make another image size. But if your goal is to simply have a good mobile page speed score than usually two different page sizes are sufficient. Your primary consideration needs to be a large screen phone with an Android operating system.

Using the Big Themes

The Big Themes have multiple options for setting full screen images. To learn about setting up the Big Themes, you can head over to the instructions page.

Once you have set up your theme, you can make your full screen images more mobile compatible using the customizer. Then you can use the Additional CSS section of the customizer to make your image more mobile friendly. For example, you could try adding the following:

@media screen and (min-width: 600px) {
	.home .wp-custom-header img {
           content: url("LargeImage.webp");
        }
}
@media screen and (max-width: 599px) {
	.home .wp-custom-header img {
          display: none;
	}
	.home .wp-custom-header {
	   background-image: url('smallImage.webp') !important; 
           background-position: center center;
           background-size: cover;
        }
}

Need Help Writing the Code?

Some people are better at writing CSS than others. Hiring a professional can be a great way to make sure that you are doing things correctly.

Page Caching PHP to HTML and the Latest Versions of WordPress

It used to be that if you were using even moderately sophisticated PHP programs, then you wold want to convert your PHP pages to HTML on your local server so that users wouldn’t need to wait for your pages to be processed. But is that still necessary? Anecdotally, I have been removing local page caching plugins from many sites, and whenever I have done it with the latest version of PHP (8.2 as of this post) and WordPress (6.3 as of the post), I have noticed that the page speed performance has improved with the version updates, even though I had removed a caching plugin. In fact, I have seen some caching plugins that have actually caused the page speed to slow down.

How Do These Plugins Work?

Caching plugins can do a lot of things. The particular plugins that I am referencing are plugins that create a folder, then they run the PHP program that creates the page for your visitor, then they store that page as an HTML file in the folder so that your users don’t have to wait for your PHP program to be run when they request the page. It is also possible for a plugin to use hashing, but the principle is still the same.

WordPress and PHP Processing Speed

When WordPress and PHP are capable of processing your programs faster, storing a ready copy as HTML can have an undetectable influence. However, other factors can make PHP to HTML caching useful.

Server Impact of Caching PHP to HTML

It is also important to realize that the server that your site is being hosted on will also have an impact on how fast your PHP programs are processed. Higher quality servers can process information faster than lower quality servers. Think of how much your PC improved the last time that you got a new laptop. The same principle is true for servers and their operating software.

WordPress Theme and Plugins Impact

How your WordPress theme is written is another factor that will affect how fast your PHP is processed. The quantity and quality of your plugins will also have an impact. However, you may find that themes and plugins that used to be a little bit slow will now load about as fast as a lot of the so called “lightweight” themes if they have been updated to the latest versions of WordPress and PHP.

Traffic Impact of Caching PHP to HTML

The number of people that are using your site will also have an impact on how fast your page is loading. If you are on a shared server, then other websites that are being hosted on your site will also present an impact.

The Advantages of Not Caching PHP to HTML

The primary advantage of not caching your HTML locally is you have less to manage. Anytime you add a plugin to your WordPress site, you make it more complicated to manage. You need to make sure that the plugin is set up properly, and it is actually working. And you need to make sure that the HTML files are not out of date. So you may be required to manually refresh the cache after updating content.

Don’t Neglect the Use of a CDN

It’s important to realize the impact of not caching HTML pages on a local server is distinct from other forms of caching. Eliminating local HTML caching will not offset the need to use a CDN. It is also worth noting that if you know how to cache your HTML into a CDN, that may still cause a detectable performance enhancement.

Try It and Test It

Do you want to know if you can ditch your page caching plugin? All you have to do is try it and test it. First run your web page and see what page speed score you get. Then disable your page caching plugin and run the test again. Try this on at least several pages of your site. If the performance of your page is as good or better than before you disabled the plugin, it probably means that you don’t need a local page caching plugin anymore.

My Experience

My experience has been pretty consistent. WordPress websites that run on traffic appropriate servers and run the latest versions of PHP gain less benefit from local PHP to HTML page caching than they used to. But a significantly large volume of traffic will produce some noticeable benefit. And I have noticed that there is still a slight benefit from caching the HTML into a CDN. It should be noted that most of my testing has been done using the Big Themes. It is also worth noting that WordPress 6.4 is currently being advertised as being even faster than WordPress 6.3.

Questions?

If you have any questions, then feel free to post them in the comments sections below.

Build Your Own Local Fonts WordPress Plugin

Building a WordPress plugin may seem daunting. But building your own local fonts plugin is actually pretty easy. The great thing about having your own plugin is your fonts will stay with you if you ever decide to change your WordPress theme. There are lots of different plugins that will allow you to set your fonts locally. But most of them feature a lot more overhead than is necessary. Most of what makes loading fonts locally complicated is understanding the font file path and assigning the font families.

This tutorial will be using the Big Themes as an example, but you should be able to use your new plugin with almost any theme that allows you to add custom CSS.

Assumptions

This is an advanced tutorial. You should understand the distinctions between hosting fonts with a third party CDN, hosting fonts locally, and using web safe fonts. You should also understand the basics of setting up a website.

Why Would You Bother Adding Your Fonts Locally?

Hosting fonts locally has become popular among many circles. But I generally don’t advocate for hosting fonts locally if it is unnecessary. Hosting fonts locally introduces a number of new problems that can be avoided when calling fonts from a third party CDN or using web safe fonts. But if it is done properly, then hosting fonts locally can be competitive with a third party CDN, but it probably will not outperform it with any consistency or significance.

In many cases, hosting fonts locally isn’t worth the time and effort. However, there are some reasons that you may want to do it. This tutorial assumes that you understand why you want to host your fonts locally and you have considered your other options such as using the Google CDN or using web safe fonts. It also assumes that you are using your own CDN to host your fonts. If you don’t have your own CDN, then hosting fonts locally will almost certainly slow down your site’s page load speed.

Update (7/31/24)

I have written a new article about Cloudflare Fonts that expands on this blog post’s discussion. It may make it unnecessary for you to go through the hassle of adding a plugin.

GitHub Template

I have created a plugin template called add-local-fonts that you can download and add to your WordPress plugins folder. It isn’t mandatory that you use this template because I will explain how to build your plugin one file at a time. But using this plugin may be helpful because you can use it to get something loaded and working fast, then you can modify it to serve your purposes.

Using CPanel

This demo will show you how to add a new plugin using CPanel. Most major webhosts use CPanel, so there is a good chance that you have access to this feature. If your webhost doesn’t use CPanel, then you will have to access your files using some other resource. If your webhost doesn’t have any kind of file access software, then you will need to set up a file transfer service like FileZilla.

Even if you have CPanel, I recommend using FileZilla to transfer the plugin template. Setting up FileZilla goes beyond the scope of this tutorial. But if you have it set up, then all you have to do is download my plugin, then unzip it, then transfer the file inside of it labeled “add-local-fonts” to your plugins directory.

Building the Plugin Using CPanel

Go to CPanel, then go to File Manager, then find your plugins directory by clicking through the file path “The name of your home WordPress folder” > wp-content > plugins.

Next, click on the button “+ folder”, then create the folder add-local-fonts.

local fonts
Adding a new plugins folder with CPanel.

Adding the Local Fonts Main Plugin File

Next, double click your new “add-local-fonts” folder, then click on “+ file” button, then add a blank file named “add-local-fonts.php”.

Then right click the new file and choose edit, then add the following code and save it.

<?php
/**
 * Plugin Name:       Add Local Fonts
 * Plugin URI:        https://bigbobnetwork.com/
 * Description:       Loads fonts locally.
 * Version:           0.1
 * Requires at least: 5.9
 * Requires PHP:      7.4
 * Author:            Bob Wilson
 * Author URI:        https://bigbobnetwork.com/
 * License:           GPL v2 or later
 * License URI:       https://www.gnu.org/licenses/gpl-2.0.html
 */

function big_bob_add_font_scripts() {
    wp_enqueue_style( 'bb-add-fonts', plugin_dir_url( __FILE__ ) . '/bb-add-fonts.css?v=0.1', array() );
}
add_action( 'wp_enqueue_scripts', 'big_bob_add_font_scripts' );

All the main plugin file does is add another file, so now we’ll add that file.

Adding the Local Fonts CSS file

Using the same process, you want to add a file named “bb-add-fonts.css”, then add the following code to the file.

@font-face {
	font-family: Abel-Regular;
	src: url(Abel/Abel-Regular.ttf);
}

@font-face {
	font-family: RobotoCondensed-Bold;
	src: url(Roboto_Condensed/RobotoCondensed-Bold.ttf);
}

@font-face {
	font-family: RobotoCondensed-Regular;
	src: url(Roboto_Condensed/RobotoCondensed-Regular.ttf);
}

@font-face {
	font-family: SpecialElite-Regular;
	src: url(Special_Elite/SpecialElite-Regular.ttf);
}

This is just a template. You want to pay special attention to each file and how it is named and called and formatted relative to the directory path. You will use the same syntax and formatting when you add your fonts. The directory path (the part labeled src) will make more sense once you have added the font files to the plugin.

Choosing Your Local Fonts

This tutorial will show you how to add fonts from fonts.google.com. You can look up the fonts being used in this demonstration on their site and download them from there, or you can take them out of the plugin file in my GitHub repository. However, if you are using Google fonts, you can also let Google host them for you.

But you don’t have to download fonts from the Google fonts website. You can use any fonts that you have a license for. Not having a third party CDN to host your fonts is probably the best reason that I can think of to host your fonts locally.

Add Your Local Fonts Files

When you add files via CPanel, you can’t transfer folders, you will have to create the folder using the instructions above. This is one reason that file transfer software like FileZilla is preferable. All of the folders will have to match the paths defined in the above CSS file. This will be discussed in more detail below.

You can upload files by clicking the upload button. Then you can drag and drop each file into the appropriate folder. Or you can double click the folder you want to add it to and add it directly. You can restructure your folders as you see fit. Or you can put all of the font files in the main folder. However, you decide to structure it, you need to make sure that the paths in the CSS file are consistent with the location of your font files in the plugin.

For example, you could restructure your files like this:

local fonts
The various file path possibilities for font files

Then update your CSS file to this:

@font-face {
	font-family: Abel-Regular;
	src: url(Abel/Abel-Regular.ttf);
}

@font-face {
	font-family: RobotoCondensed-Bold;
	src: url(fonts/Roboto_Condensed/RobotoCondensed-Bold.ttf);
}

@font-face {
	font-family: RobotoCondensed-Regular;
	src: url(fonts/Roboto_Condensed/RobotoCondensed-Regular.ttf);
}

@font-face {
	font-family: SpecialElite-Regular;
	src: url(SpecialElite-Regular.ttf);
}

Add Additional CSS to the customizer

At this point, if you’re logged into to your WordPress admin center, then your file paths may not be saved and/or cached properly to your WordPress admin center. Before you go any further, you probably want to either completely close down your browser, or open your wp-admin in a new incognito (in private) browser, or use a different browser.

It can also be helpful to update the version number in your PHP file. This means you can change the demo from:

bb-add-fonts.css?v=0.1

to:

bb-add-fonts.css?v=0.2

Once you are in your WordPress admin center go to Appearance > Customize > Additonal CSS.

If you are using any of the Big Themes, and you are still using the demo fonts, then you should be able to add the following code to the Additional CSS section and notice an immediate change in your fonts. But if you don’t see a change, then try an incognito window or a different browser. You can also try changing the version number in the PHP file using the method referenced earlier.

/*Title Fonts*/
.site-title, .bb-site-title-top,
.bb-forest-cover h1,
.bb-forest-cover h2,
.bb-forest-cover h3 {
	font-family: RobotoCondensed-Bold  !important;
}

/*Heading Fonts*/
h1, h2, h3, h4, h5, h6, .site-description, .bb-site-description-top {
	font-family: RobotoCondensed-Regular !important;
}

/*Paragraph Fonts*/
body,
p, pre, textarea, .comment-author, .entry-content li, .wp-block-latest-posts,
.entry-meta,
.entry-footer,
.nav-links,
.comment-metadata,
.reply,
input,
select,
optgroup,
.bb-sideStick li,
#bb-sideSlide li {
	font-family: Abel-Regular!important;
}

/*Menu fonts*/
#primary-menu li,
#bb-sidebar-menu li {
	font-family: SpecialElite-Regular !important;
}

If you aren’t using the Big Themes, then you’ll need to determine your font classes by inspecting them in your browser.

Remove All Calls to the Google CDN

You should remove any calls you have to the Google CDN since you are no longer using those fonts.

It’s easy to remove calls to the Google CDN if you are using the Big Themes. Just go to the Typography section of the Customizer and delete everything from the input boxes including white space.

If you aren’t using one of the Big Themes, then you will have to consult your theme’s documentation to determine what to do.

Confirm that the Google CDN Calls Have Been Removed

You can confirm that your site is no longer making calls to the Google CDN by opening up your browser’s developer tools. Once you have done this, look into the HTML section and try to find any reference to “fonts.google”. If you can’t find any references, then you know that the Google CDN calls have been removed.

Make Sure That Your Site is Redirecting to Your SSL Page

If you are using an SSL certificate, then it is always a good idea to make sure that visitors are always being redirected to it, but it’s significance can be more apparent when hosting fonts locally.

If a site visitor doesn’t go onto to your https version of your site, then the wrong fonts will probably be delivered if you are hosting locally. When you add your fonts locally, you are defining their location through a relative path. This is something that you don’t have to worry about if you are using web safe fonts or the Google CDN.

What should you do if your site isn’t redirecting properly?

If your WordPress site is your homepage, then usually all you have to do is go to Settings > General then make sure that WordPress Address and Site Address both start with https.

If your homepage isn’t part of WordPress, then you can update your .htaccess file using CPanel by adding the following to the top of the file.

RewriteEngine On   
RewriteCond %{HTTPS} !=on   
RewriteRule ^ https://%{HTTP_HOST}%{REQUEST_URI} [L,R=301]  

RewriteOptions inherit   
RewriteEngine on   
Header set content-Security-Policy: upgrade-insecure-requests   

Questions About Adding Local Fonts?

If you have any questions, then feel free to post them in the comments section.